In this Tutorial, I will guide you step by step guide on how to customize your app starting from changing of name, icon to applying ads ID.
Customizing your project step by step
First, Login to your project manager with your email address and password .
Note your email address must start with the prefix admin. (Admin dot your email address) example, admin.james@gmail.com
After logging in successful, you will see a list of apps which you have ordered.
Basic customization
Changing app name, icon, launch message and splash screen.
-To change app name and icon, click on the app you wish to customize..
-tap on General info
Change the default app name which contains your account user name example (James English dictionary) or (English dictionary James)
-change the default icon (image) to your own preferred icon. We recommend using icon without background. You can find free icons from this site https://www.flaticon.com/
Other optional settings include: launch message, app permissions, share preview text.
Changing the app theme and menu type.
Tap on design, And several design Features will open. From this single tab, you can change app colors, menu type, background image, chat sounds etc
If you're a beginner, we recommend leaving these customization at default.
The 'section' tabs
The sections is your app contents manager and also your app behavioral center. Any changes you implement in this section will change your app function. If you're a beginner, we recommend leaving this section at it default configuration. or make a duplicate copy of the section you which to make changes but hide the copy from showing up in your app.
Why the duplicate copy?
In case anything go wrong with the active section, you can replace it with the duplicate copy while ratifying issues with the original one.
Note: when replacing the original copy, check the ' reference' and also the 'show on menu' settings to ensure it corresponds with that of the initial settings.
However, this doesn't stops you from adding your ad code to the sections of your choice.
Note: delected SECTION cannot be restored, treat this section with care.
Adding ad code to your app
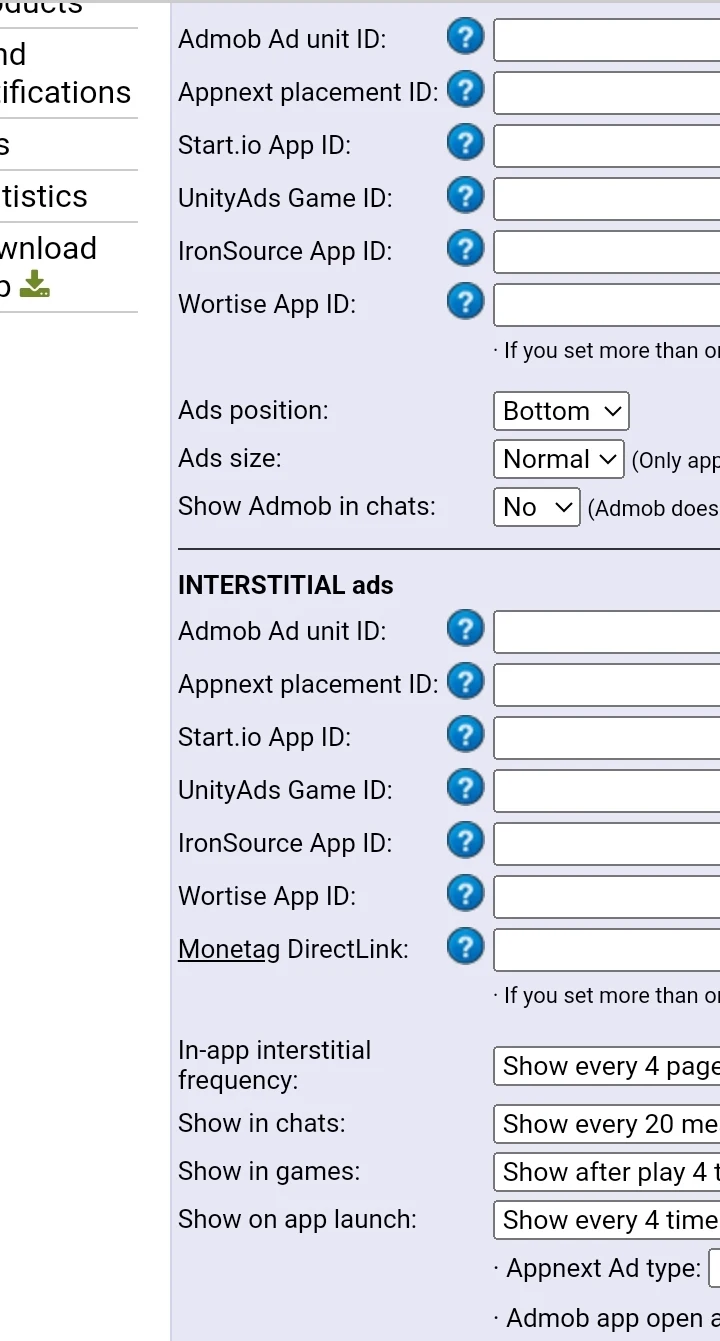
To monetize your app click on the ADS tab, you will see several supported networks and ads placement such as NATIVE ads, BANNER ads, INTERSTITIAL ads, REWARDED VIDEO ads, IN-CHAT ads.
Currently, you can only monetize your app with the below listed ad networks:
1. Admob
2. Appnext
3.Monetag
4. Unity ad
5 wortise
6. Start.io
You only have to create account in any or all of the above ad network, copy your ad ID which will be provided by the network then paste according in your app ad placement.
Following this guide will makes the journey more easier. As you can see, it doesn't require building of codes.


